Trending

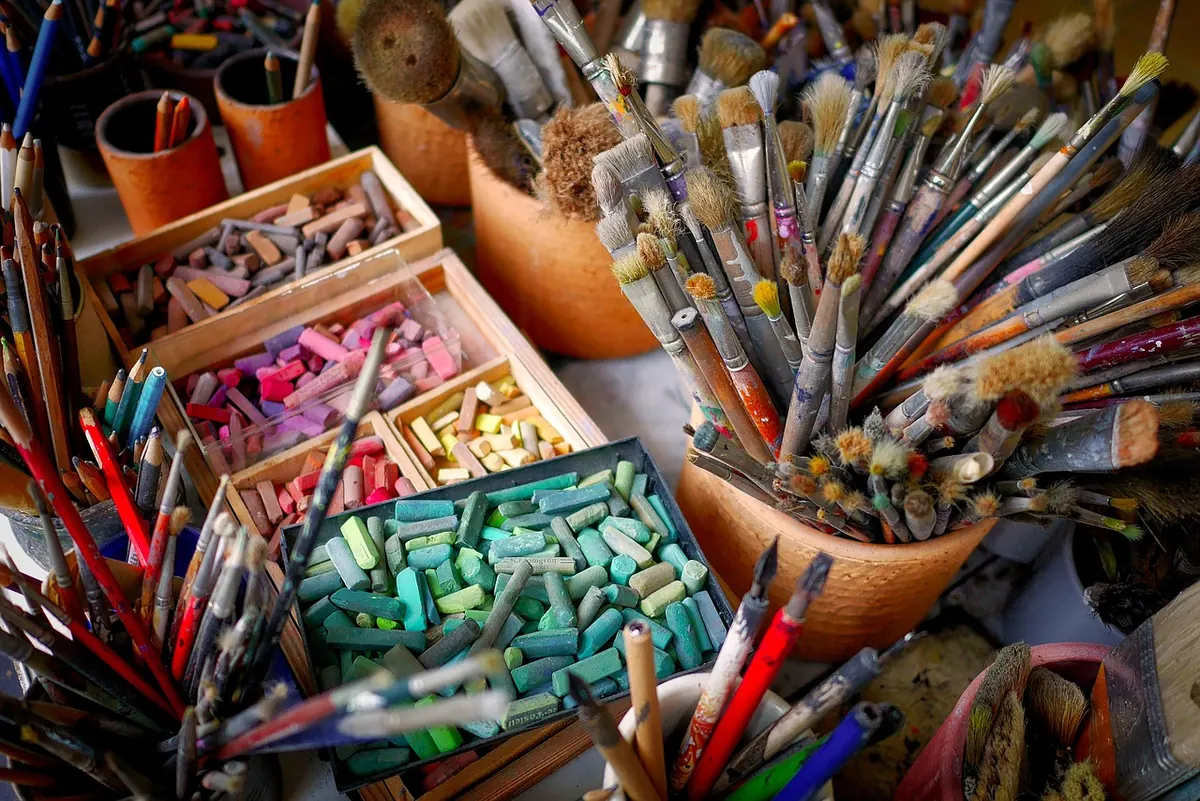
Walk into any art shop and you will be sold a story: that better sketching arrives in a bag of new things. It doesn't. Most beginners improve faster with three inexpensive tools they use every day than with a studio's worth of supplies they are frightened to touch. The useful skill is knowing which few items do the heavy lifting and which ones are simply waiting to gather dust in a drawer.
So here is the kit worth buying now, and everything you can cheerfully ignore until your drawing actually asks for it.
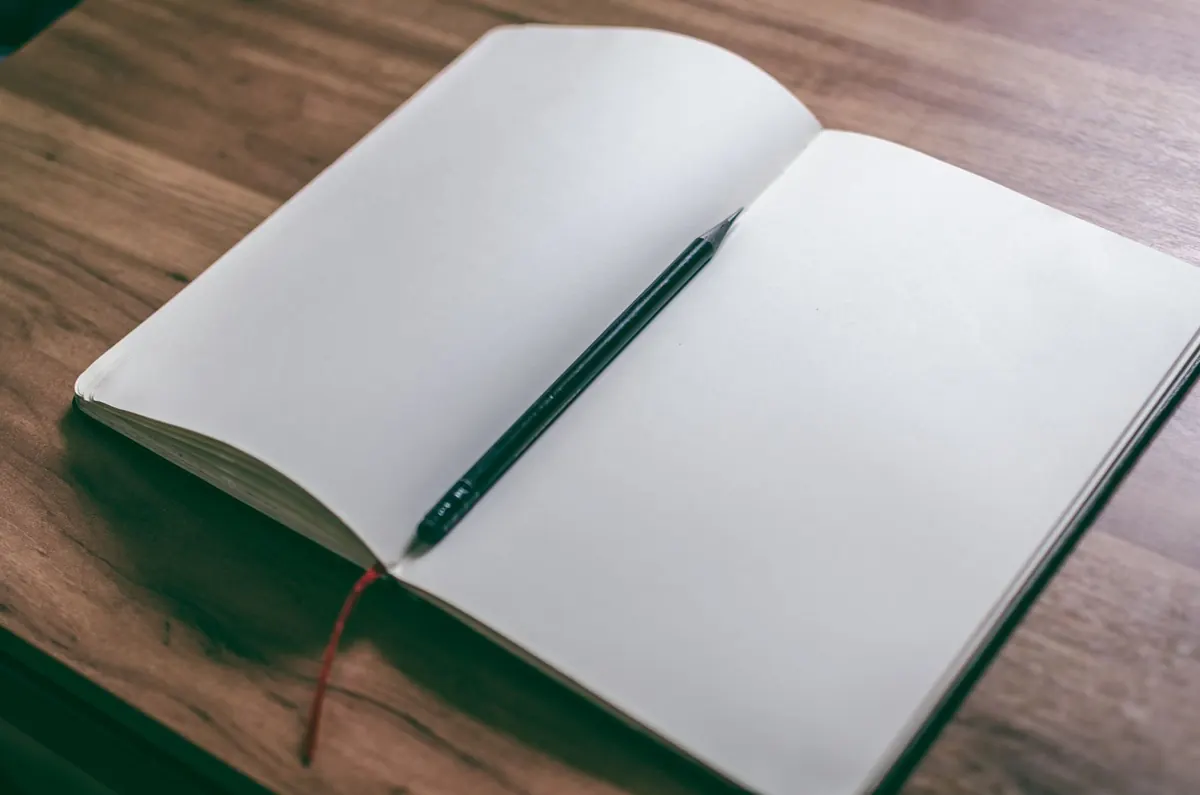
Almost everyone buys a pencil first. Wrong order. Paper is the thing your hand feels every second you draw, and thin paper punishes you for it. Copier paper buckles under shading, tears when you rub out a line and forces you into timid, scratchy marks because you are scared of ruining the page.
Look for a sketchbook with cartridge paper of around 130–160 gsm. That weight takes layered graphite without going shiny, holds a crisp edge and survives a rubber. A slight texture, often called tooth, grips the pencil and gives your shading some life. Anything much heavier is designed for watercolour and costs accordingly — lovely later, unnecessary now.
On size: A5 fills up quickly and encourages you to finish things. A4 gives your arm room to move and suits bigger, looser studies. Either is fine, but buy one book and use it up rather than four you are saving for good drawings. Nothing you make in your first months is precious, and that is exactly why it is useful.
The letters and numbers on a pencil describe its hardness. H means hard: it lays down a light, fine line and holds a sharp point well. B means soft and black: it goes dark quickly, smudges easily and wears down fast. HB sits in the middle. The higher the number, the more extreme the pencil.
That is genuinely enough. A tin of twenty-four graded pencils looks generous and mostly goes unused; you will reach for the same two or three every time. Put the money towards better paper instead.
A blunt pencil makes soft, vague marks, and vague marks are hard to learn from. A simple metal sharpener with a decent blade will do, and a scrap of fine sandpaper or a sandpaper block lets you shape a long point on soft pencils without snapping the lead. If a pencil feels gritty or scratches the page, that is the pencil's fault rather than yours — some budget graphite is just inconsistent.
A putty rubber is the quiet hero of graphite drawing. Squash it into a point and you can lift a highlight out of a dark area, soften an edge or lighten a whole patch of shading without smearing the rest of the page. Keep a second, firmer vinyl or plastic eraser for removing construction lines completely, and wipe it on a clean surface now and then — a dirty eraser just grinds graphite back into the paper.
Then add the boring bits that stop you hunting mid-drawing:
If your kit does not fit in one small case, it is too big for now. The kit you carry is the kit you draw with.
These are not bad products. They are simply answers to problems you do not have yet, and every unnecessary tool adds a decision you do not want while you are learning to see.
Buy one thing at a time, when a specific drawing demands it. That is the whole rule.
Print this, or copy it into your phone before you go shopping.
Everything else on the shelf stays there until you can name the exact effect you are missing.
Give yourself ten to fifteen minutes a day and one page. Date the corner. Draw the same mug five days running and watch what changes. Sketch hands, shoes, the view from your window, the person opposite you on the train — quick, small, unflattering. Do not tear out the bad pages; in three months they will be the most interesting part of the book.
When a drawing goes wrong, resist the urge to blame the pencil. Nine times out of ten the answer is more looking and fewer lines, not a new tool. But when you notice yourself wanting something specific — deeper blacks, a bit of colour, a fine ink line — buy exactly that one item, use it for a fortnight, and decide whether it stays. Your kit should grow out of your drawing, not the other way round.
Photo: fietzfotos / Pixabay