Trending

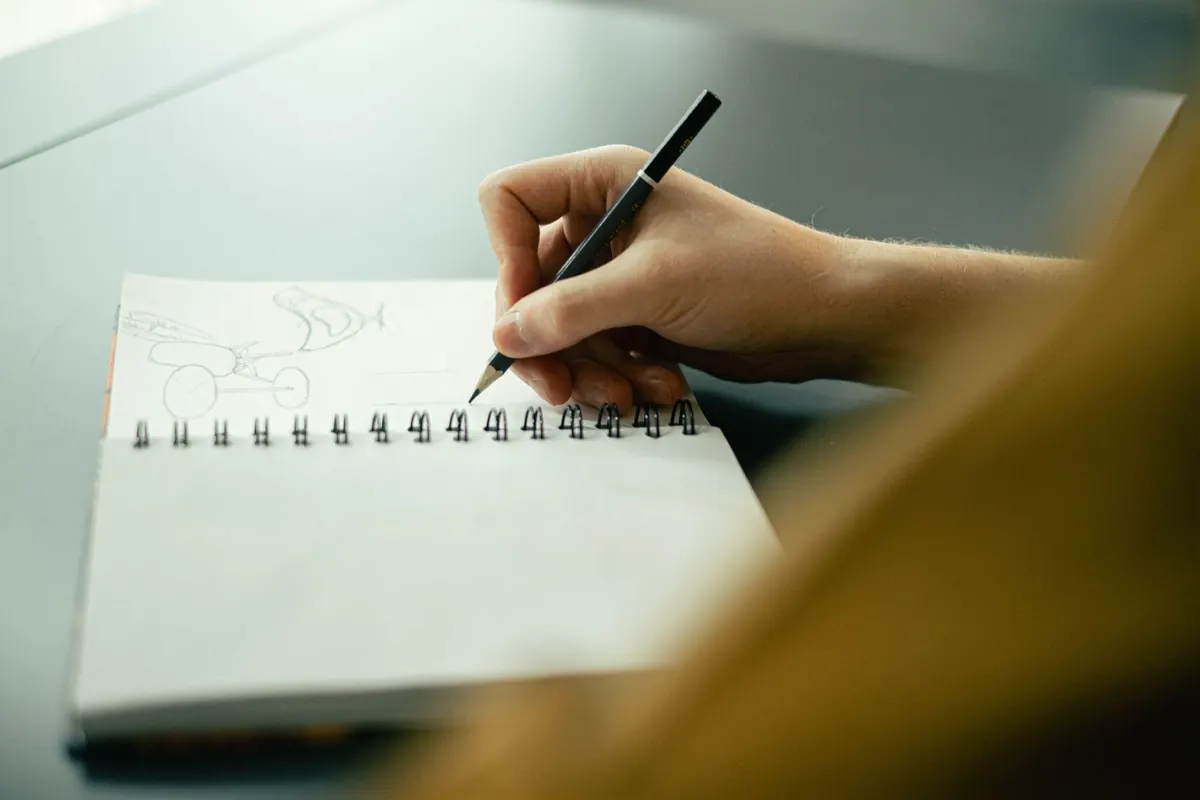
Most sketches that go wrong fail for a smaller reason than the person making them. It is rarely a shortage of talent; it is a habit, usually one you have not noticed, repeated until the page stops working. The encouraging part is that habits are mechanical, and mechanical things respond well to deliberate practice. Here are the mistakes that turn up most often in beginner sketchbooks, with a correction for each.
Watch a beginner draw and you will usually see the pencil held close to the point, knuckles white, with a single hard outline produced in one tense pass. That line then has to be defended for the rest of the drawing, because changing it feels like admitting failure.
Hold the pencil further back, nearer where a brush would sit, and move your whole arm rather than just your fingers. Sketch the stroke two or three times just above the paper before letting it land — a ghosted line. Then draw lightly, in several passes, and let the edges firm up as you grow more certain about where they belong.
Line weight matters too. An edge turning away from the light, or where two forms overlap, deserves a darker, more deliberate mark. A quiet edge stays pale. If every line carries the same weight, the eye has nowhere to go and the drawing reads as flat outline rather than form.
It is tempting to start at the top of a subject and work downwards, finishing each part before moving on. That is how you write a sentence; it is a poor way to build a drawing. By the time you reach the bottom, the head may be twice the size it should be and there is no room left for the body.
Spend the first minute measuring. Compare one length against another — how many head heights fit into the torso, where the elbow sits in relation to the waist. Hold your pencil at arm's length, mark one distance with your thumb, and compare it with another part of the subject. Look at the shapes between things, the negative spaces, which are often easier to judge than the objects themselves. Drop a few faint vertical lines to keep everything aligned.
Then block in the big masses as simple shapes: a box, an oval, a wedge. Only when those sit correctly should you move to features, and only then should you start refining edges. Work from the whole to the part, and every later decision becomes easier.
Smudging graphite with a finger or a paper stub feels like progress. The surface goes smooth, the marks disappear, and the result looks tidy. Unfortunately, tidy is not the same as three-dimensional. Over-blend and you lose the form you were describing: shadows turn to uniform grey, edges dissolve, and the drawing becomes soft everywhere, which reads as vague.
Blend less than you think you need. Keep a few clean lights and at least one proper dark. Hatching, where you build tone from parallel or crossed lines, gives you control and leaves the direction of your marks visible, which the eye reads as surface. Where you do smudge, use it to soften a transition between two tones, not to erase the structure underneath.
Decide before you start where the light is coming from, then stay loyal to it. If the light is upper left, that is where lights stay pale and where cast shadows fall to the lower right. Half-hearted shading with no fixed source is the reason so many sketches look flat.
Draw a leaf from memory and you will produce a pointed oval with a line down the middle. Draw an eye and you will draw an almond with lashes. These symbols live in the head and arrive on the page faster than observation does, which is exactly why they cause trouble.
The fix is slower looking. Before the pencil moves, trace the edge of the object with your eye and describe it silently: this bit juts out, this bit curves back in, this edge is nearly straight. Try a contour drawing, where you look at the subject far more than at the paper and keep the pencil moving in one continuous line. It will look odd, and it will teach your hand to follow your eye rather than your memory. Ten minutes with something ordinary — a mug, a shoe, a crumpled cloth — is enough to feel the difference.
Two quiet errors cause a great deal of disappointment. The first is scale: drawing at postcard size when you are trying to learn a sweeping arm movement, which pushes you straight back into tight finger work. The second is tool choice — a hard, pale pencil that will not go dark, a soft smudgy one that will not hold an edge, or paper so thin that corrections show through.
None of this is expensive to fix. Try these swaps:
Drawing in pen now and then is one of the fastest ways to loosen up. When you cannot rub anything out, you stop hovering and start committing.
The most damaging mistake is not a wonky line, it is stopping. Every drawing passes through an awkward middle stage where the proportions look off and the shading is patchy, and that is where most sketchbooks close. That stage is normal. It is what work in progress looks like.
Push through it. Correct the shapes you
Photo: Ivan S / Pexels